
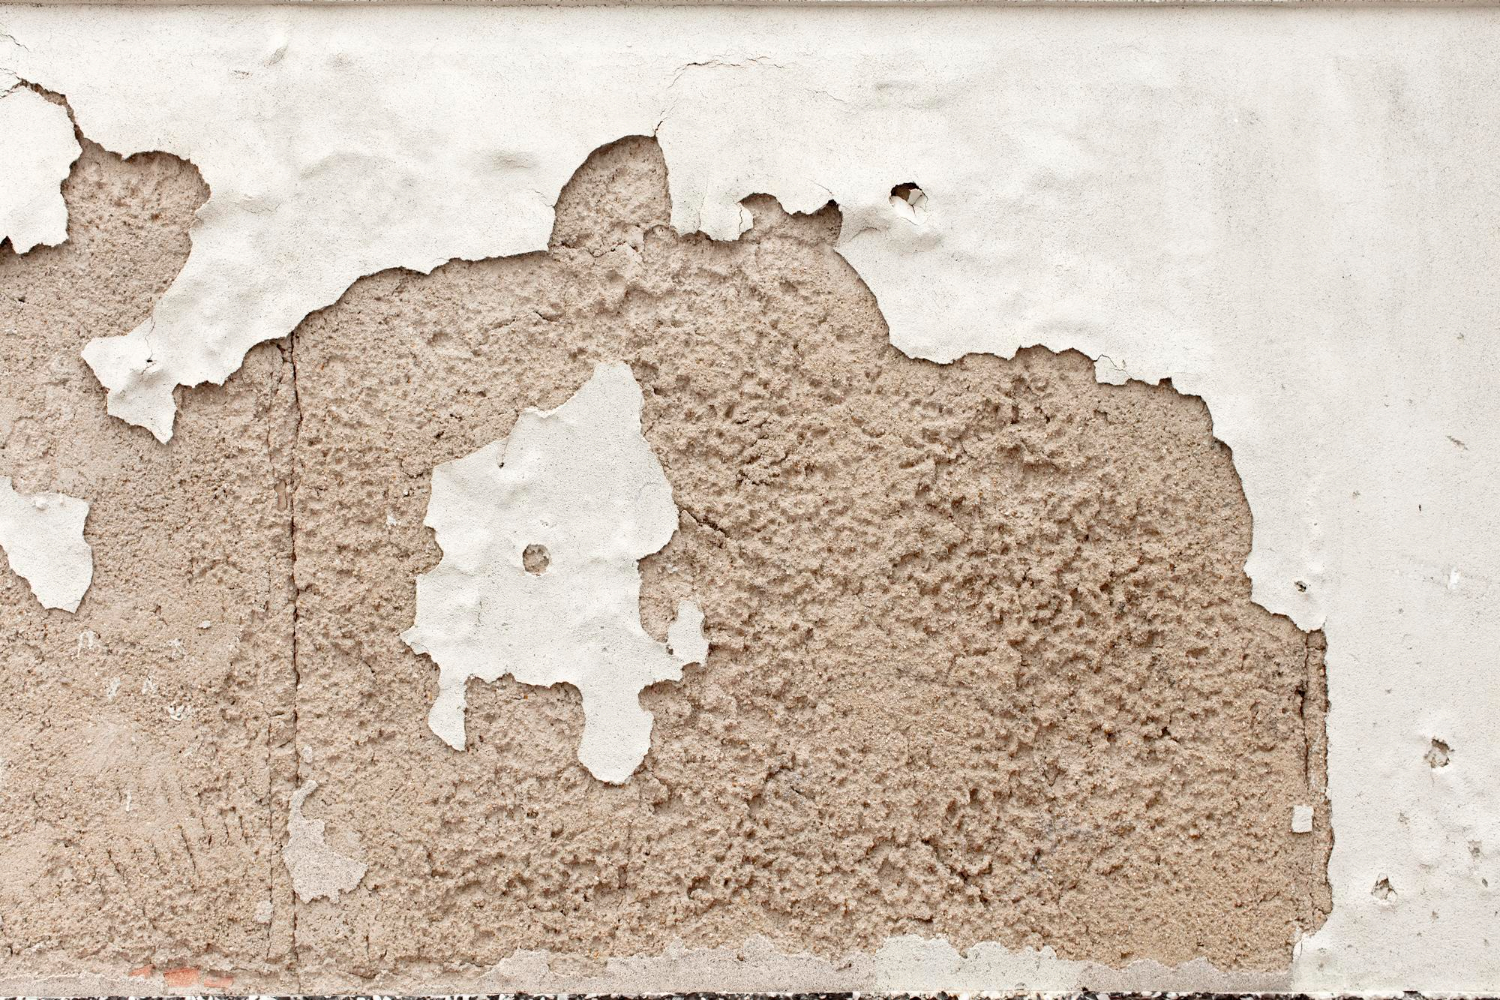
Few things make a room look neglected faster than peeling paint. Whether it’s a small section near a window or a larger patch on a wall or ceiling, flaking paint can make an otherwise well-maintained space feel worn out. The good news is that peeling paint is often a straightforward repair—as long as you address the underlying cause before repainting.
Simply painting over peeling areas won’t solve the problem. The loose paint will continue to lift, and before long, the new coat may peel right along with it. Taking the time to prepare the surface properly will give you a much longer-lasting finish.
Why Paint Peels
Before making repairs, it’s important to understand why the paint failed in the first place.
Some of the most common causes include:
- Excess moisture from leaks or high humidity
- Painting over dirty or dusty surfaces
- Poor surface preparation
- Skipping primer
- Applying paint before the previous coat was fully dry
- Using the wrong type of paint for the surface
If moisture is causing the problem, fix the source first. Otherwise, the paint is likely to peel again, no matter how carefully you repaint.
What You’ll Need
Most peeling paint repairs require only a few basic supplies:
- Putty knife or paint scraper
- Fine- and medium-grit sandpaper
- Sanding block or sanding sponge
- Spackling or joint compound (if needed)
- Primer
- Matching interior paint
- Paintbrush or small roller
- Drop cloth
- Safety glasses
- Dust mask
Having everything ready before you begin makes the project go much more smoothly.
Step 1: Remove Loose Paint
Start by scraping away all peeling, bubbling, or flaking paint with a putty knife or paint scraper.
Don’t stop at the obvious edges. Continue scraping until you reach paint that is firmly bonded to the wall. If loose paint remains, it can cause future peeling beneath the new finish.
Be careful not to gouge the drywall while removing the damaged paint.
Step 2: Sand the Area
After scraping, the edges where old paint meets bare wall will usually feel uneven.
Use medium-grit sandpaper to smooth these transitions, then switch to a finer grit to create a surface that’s ready for primer.
Your goal is to feather the edges so they blend gradually into the surrounding painted wall.
Once finished, wipe away all sanding dust with a damp cloth.
Step 3: Repair Any Surface Damage
Sometimes peeling paint pulls away small bits of drywall paper or leaves shallow imperfections behind.
If you notice dents, gouges, or rough spots:
- Apply a thin layer of spackling or joint compound.
- Let it dry completely.
- Sand the repair until smooth.
- Remove any dust before moving on.
A smooth surface helps create an even paint finish.
Step 4: Apply Primer
Primer is one of the most important parts of the repair, yet it’s often skipped.
Priming helps:
- Seal exposed drywall or patched areas
- Improve paint adhesion
- Create an even finish
- Prevent flashing, where repaired areas show through the paint
Apply a thin, even coat and allow it to dry according to the manufacturer’s instructions.
Step 5: Repaint the Area
Once the primer has dried, apply your matching paint using a brush or roller, depending on the size of the repair.
For the best blend:
- Feather the paint slightly beyond the repaired area.
- Use thin, even coats.
- Allow each coat to dry before adding another.
Two light coats generally provide better coverage than one thick coat.
Matching the Existing Finish
Even if the paint color is identical, the finish also matters.
Common finishes include:
- Flat
- Matte
- Eggshell
- Satin
- Semi-gloss
- Gloss
Using the wrong sheen can make the repaired area stand out, even if the color is a perfect match.
If you don’t know the original finish, testing a small, inconspicuous area can help.
Preventing Paint from Peeling Again
After completing the repair, a few simple habits can help keep your walls looking their best.
- Fix plumbing leaks promptly.
- Use exhaust fans in kitchens and bathrooms.
- Clean walls before repainting.
- Allow adequate drying time between coats.
- Always use primer on repaired or bare surfaces.
- Choose quality paint suited for the room’s conditions.
Moisture is one of the biggest enemies of painted surfaces, so controlling humidity can significantly extend the life of your paint.
Common Mistakes to Avoid
Many peeling paint repairs fail because of shortcuts taken during preparation.
Avoid these common mistakes:
- Painting over loose paint
- Skipping sanding
- Forgetting to clean away dust
- Not using primer
- Applying paint too heavily
- Ignoring the source of moisture
Proper preparation usually takes longer than painting, but it’s also what determines how well the repair lasts.
When It’s Time for a Larger Repair
Sometimes peeling paint is a symptom of a bigger issue.
You may need further investigation if you notice:
- Large sections of paint lifting throughout the room
- Soft or crumbling drywall
- Persistent water stains
- Mold or mildew
- Paint bubbling repeatedly after repairs
Addressing these underlying problems before repainting will save time and money in the long run.
Fixing peeling paint is about more than improving appearance—it’s about restoring a surface that will hold up over time.
By removing loose paint, smoothing the area, applying primer, and repainting carefully, you can achieve a repair that blends naturally with the rest of the wall.
While it may be tempting to simply paint over damaged areas, investing a little extra effort in proper preparation pays off with a smoother finish and longer-lasting results. Once you’ve completed the repair correctly, your walls will not only look better but will also be better protected against future peeling.