
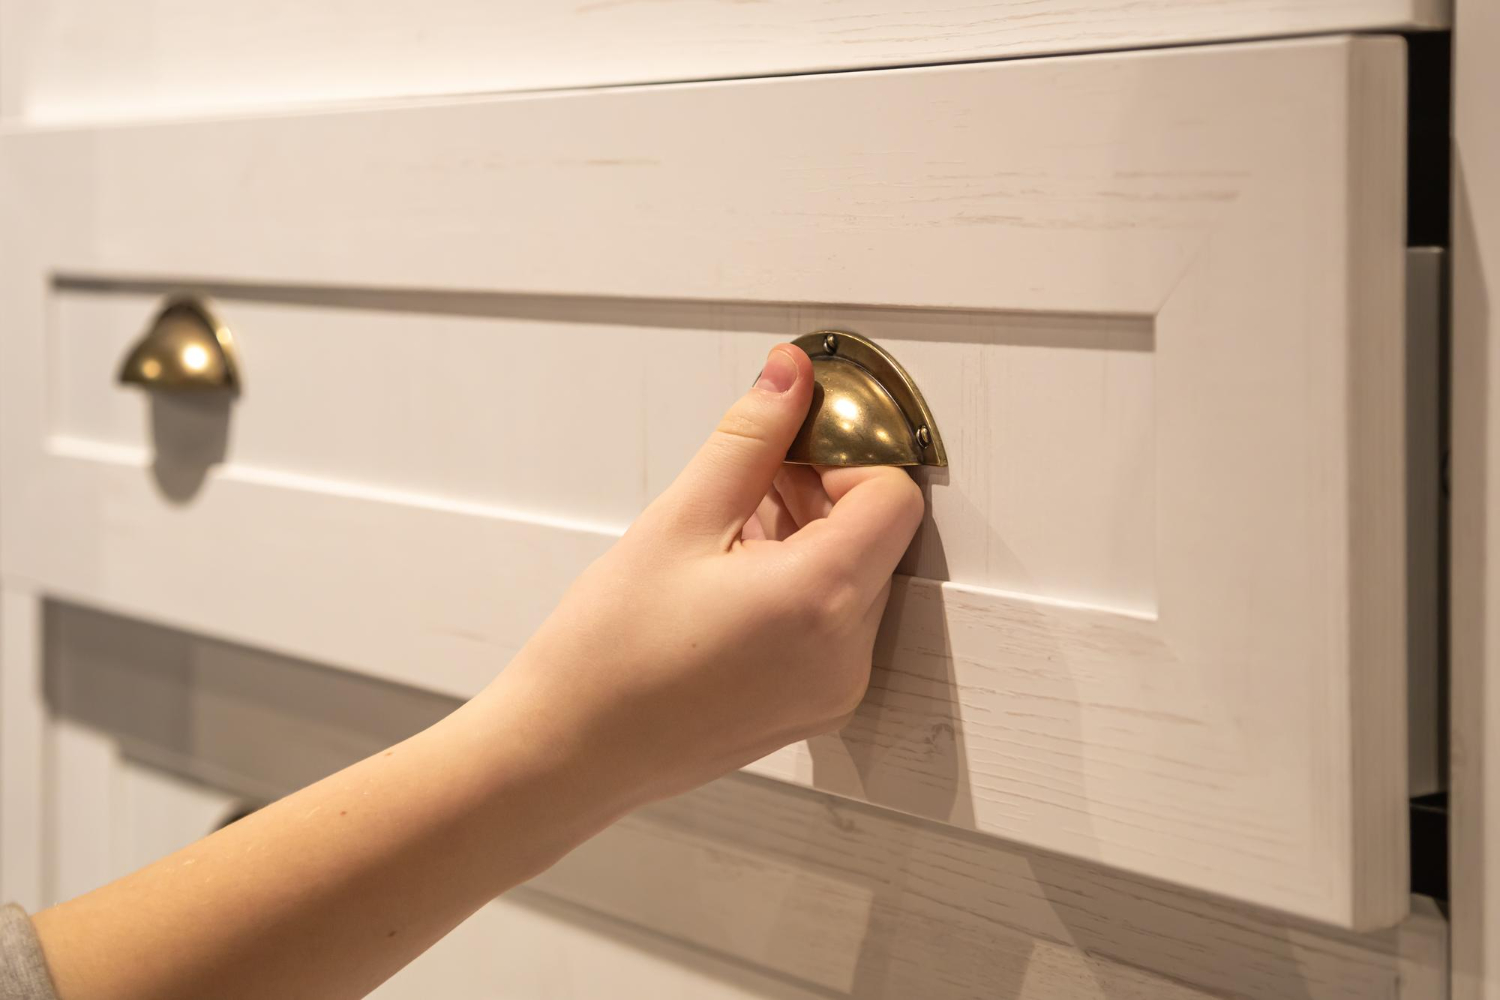
Replacing or installing drawer pulls and knobs is one of the easiest ways to give furniture, kitchen cabinets, or bathroom vanities a fresh new look. Whether you’re updating outdated hardware or finishing a brand-new cabinet project, properly installed handles not only improve the appearance of your space but also make drawers easier to open and close.
The job doesn’t require advanced carpentry skills, but careful measuring is essential. A few extra minutes spent planning can prevent crooked hardware and unnecessary holes.
Choose the Right Hardware
Before you begin, decide whether you want knobs or pulls.
Knobs use a single mounting screw and are often chosen for smaller drawers or traditional-style cabinetry.
Pulls attach with two screws and provide a larger grip, making them a popular choice for wider drawers and modern kitchens.
When selecting hardware, consider both style and comfort. Handles should feel comfortable in your hand and be appropriately sized for the drawer.
Gather Your Tools
You’ll need just a few basic tools to complete the installation:
- Tape measure
- Pencil
- Drill or cordless driver
- Drill bits
- Phillips screwdriver
- Level
- Masking tape
- Cabinet hardware template or installation jig (optional but recommended)
A template can significantly speed up installation while helping ensure every handle is positioned consistently.
Decide Where the Hardware Will Go
Placement plays a big role in both appearance and functionality.
For most drawers:
- Knobs are typically centered both horizontally and vertically on the drawer front.
- Pulls are usually centered horizontally, with the mounting holes evenly spaced on either side of the center point.
Larger drawers often look better with wider pulls, while smaller drawers may only need a single knob or shorter handle.
If you’re installing hardware throughout an entire room, keep the placement consistent across every cabinet and drawer.
Measure Carefully
Accurate measurements are the key to professional-looking results.
For knobs:
- Measure the width of the drawer.
- Mark the horizontal center.
- Measure the drawer height.
- Mark the vertical center.
The point where those lines meet is where you’ll drill.
For pulls:
- Find the center of the drawer.
- Measure half the pull’s center-to-center distance in each direction.
- Mark both mounting holes.
Double-check every measurement before drilling.
Use Masking Tape to Mark the Surface
A simple trick many DIYers use is placing a strip of masking tape over the drilling area.
The tape helps:
- Make pencil marks easier to see
- Reduce minor splintering on wood surfaces
- Protect finished cabinet fronts while marking
After drilling, the tape peels away easily without leaving residue.
Drill the Mounting Holes
Select a drill bit that matches the diameter of the mounting screws.
Drill slowly and keep the drill as straight as possible. Angled holes can make hardware difficult to install and leave pulls sitting unevenly against the drawer.
If you’re working with finished wood, placing a small piece of scrap wood behind the drawer front can help minimize tear-out as the drill bit exits the back side.
Install the Hardware
Insert the screws through the inside of the drawer and thread them into the knob or pull.
Tighten the screws until the hardware feels secure.
Avoid overtightening, as excessive force can:
- Strip the screw threads
- Crack wooden drawer fronts
- Damage painted or laminate finishes
Once tightened, check that the hardware sits flat against the drawer surface.
Check the Alignment
Step back and inspect your work before moving on to the next drawer.
Look for:
- Straight handles
- Even spacing
- Consistent height
- Matching placement throughout the room
Small adjustments are much easier before every drawer has been completed.
Installing Hardware on Existing Drawers
If you’re replacing old hardware, the project may be even easier.
If the new pulls use the same hole spacing, simply remove the old hardware and install the new pieces.
If the spacing is different:
- Fill unused holes with wood filler.
- Sand the repair smooth.
- Touch up the finish if necessary.
- Measure carefully before drilling new holes.
Taking the time to repair old holes creates a much cleaner finished appearance.
Tips for a Professional Finish
A few simple habits can make the installation look like it was done by a professional.
- Measure every drawer individually.
- Use the same template throughout the project.
- Double-check markings before drilling.
- Drill slowly to avoid chipping.
- Tighten screws by hand for the final few turns.
Consistency matters more than speed.
Common Mistakes to Avoid
Even experienced DIYers occasionally make installation errors.
Watch out for these common mistakes:
- Drilling before confirming measurements
- Installing pulls off-center
- Mixing different installation heights
- Using screws that are too long or too short
- Overtightening hardware
- Forgetting to check alignment before tightening completely
Most mistakes can be avoided by measuring twice and drilling once.
Caring for Your New Hardware
Once installed, drawer pulls and knobs require very little maintenance.
To keep them looking their best:
- Wipe them regularly with a soft cloth.
- Avoid harsh abrasive cleaners.
- Check mounting screws every few months and tighten them if necessary.
- Clean fingerprints and grease from frequently used handles.
A little routine maintenance helps preserve both the finish and the feel of your hardware.
Installing drawer pulls and knobs is a simple project that can dramatically improve the look and functionality of your cabinets or furniture.
With careful measurements, the right tools, and a steady approach, even first-time DIYers can achieve clean, professional-looking results.
Whether you’re updating an entire kitchen or giving an old dresser a new lease on life, properly installed hardware adds the finishing touch that ties the whole project together. It’s a small upgrade that delivers noticeable results every time you open a drawer.