
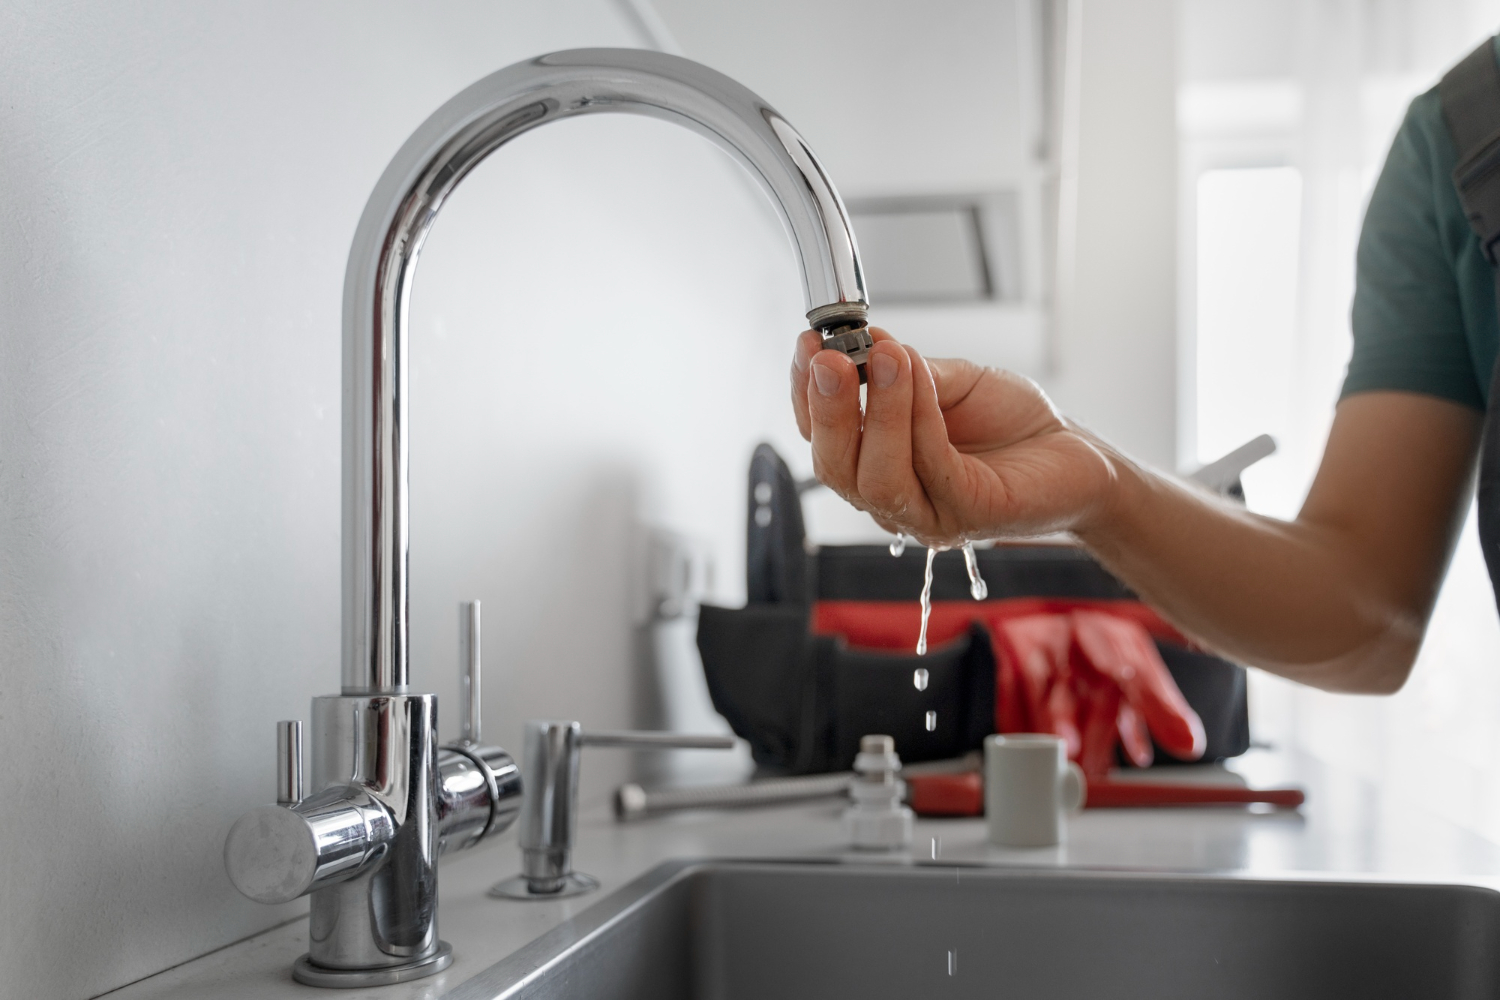
The good news is that most dripping faucets are caused by simple wear-and-tear inside the fixture—and they’re usually easy to fix with a few basic tools.
Why Faucets Start Dripping
A faucet is basically a controlled leak. When everything inside is in good condition, water stops completely when you turn it off. But over time, internal parts wear down.
Common causes of dripping include:
- Worn rubber washers or O-rings
- Corroded valve seats
- Loose or damaged cartridges
- Mineral buildup from hard water
- Faulty seals inside the faucet handle assembly
Different faucet types fail in different ways, but the result is the same: water slowly escapes even when the handle is fully closed.
Identify Your Faucet Type
Before making repairs, it helps to know what kind of faucet you have. Most household faucets fall into one of four categories:
Compression faucets
These have separate hot and cold handles. They use rubber washers that press down to stop water flow.
Cartridge faucets
These use a cartridge inside the handle that controls water flow and temperature.
Ball faucets
Common in older kitchen sinks, these use a rotating ball mechanism with springs and seals.
Ceramic disk faucets
More modern and durable, these use two ceramic disks that slide against each other to control water.
Identifying the type will determine which parts you need to replace.
What You’ll Need
Most faucet repairs require only basic tools:
- Adjustable wrench
- Phillips and flat-head screwdrivers
- Allen key set (sometimes needed for handle screws)
- Replacement washers, O-rings, or cartridge
- Plumber’s grease
- Towels or a small bucket
- Penetrating oil (for stuck parts)
Before starting, shut off the water supply under the sink and turn the faucet on to release any remaining pressure.
Step 1: Shut Off the Water
Locate the small shutoff valves under the sink. Turn them clockwise until they stop.
Then turn the faucet on to drain any leftover water in the lines. This prevents spills when you disassemble the fixture.
Step 2: Remove the Faucet Handle
Most faucet handles have a decorative cap hiding a screw.
- Pry off the cap gently with a flat screwdriver
- Remove the screw underneath
- Lift the handle off carefully
If the handle is stuck, a small amount of penetrating oil and gentle wiggling usually helps loosen it.
Step 3: Inspect the Internal Parts
Once the handle is removed, you’ll see the internal mechanism depending on the faucet type.
Look for:
- Cracked or flattened rubber washers
- Brittle O-rings
- Corroded metal components
- Debris or mineral buildup
In many cases, the damaged part is clearly visible.
Step 4: Replace Worn Parts
For compression faucets:
Replace the rubber washer at the bottom of the stem and inspect the O-ring.
For cartridge faucets:
Remove the cartridge and replace it with an identical model.
For ball faucets:
Replace the springs and rubber seats inside the valve body.
For ceramic disk faucets:
Clean or replace the ceramic disk cartridge if damaged.
Apply a small amount of plumber’s grease to rubber parts before reassembly to improve sealing and extend lifespan.
Step 5: Reassemble the Faucet
Put all parts back in reverse order:
- Reinstall the internal mechanism
- Secure any retaining clips or nuts
- Reattach the handle
- Tighten the screw
- Snap the decorative cap back in place
Make sure everything is snug, but avoid overtightening.
Step 6: Turn the Water Back On
Slowly open the shutoff valves under the sink.
Turn the faucet on and off several times to check for smooth operation.
Inspect carefully for leaks around:
- The spout
- The handle base
- Under the sink connections
A properly repaired faucet should stop dripping completely.
What If It Still Drips?
If the faucet continues to drip after replacing parts, consider:
- A damaged valve seat inside the faucet body
- Incorrect replacement parts
- Excess mineral buildup
- Worn internal housing that can’t seal properly
In some cases, replacing the entire faucet is more cost-effective than repeated repairs.
Preventing Future Drips
While faucet wear is normal, a few habits can help extend its life:
- Avoid forcing handles shut
- Clean mineral deposits regularly
- Use gentle pressure when turning faucets off
- Check for small leaks early before they worsen
- Install water softening if hard water is an issue
Small maintenance steps can significantly delay future problems.
Common Mistakes to Avoid
Faucet repairs are simple, but a few mistakes can make things worse:
- Not shutting off the water completely
- Mixing up internal parts during reassembly
- Using the wrong replacement cartridge or washer
- Overtightening components
- Ignoring mineral buildup inside the faucet body
Taking your time during disassembly and keeping parts organized helps avoid confusion.
A dripping faucet may seem like a small inconvenience, but it’s usually a sign that an internal part has worn out.
With a few basic tools and the right replacement components, most homeowners can fix the problem in under an hour.
Whether the issue is a worn washer, a faulty cartridge, or mineral buildup, careful inspection and proper replacement will usually restore the faucet to full working order. Fixing the drip not only eliminates the noise—it also conserves water and prevents long-term wear on your plumbing fixtures.