
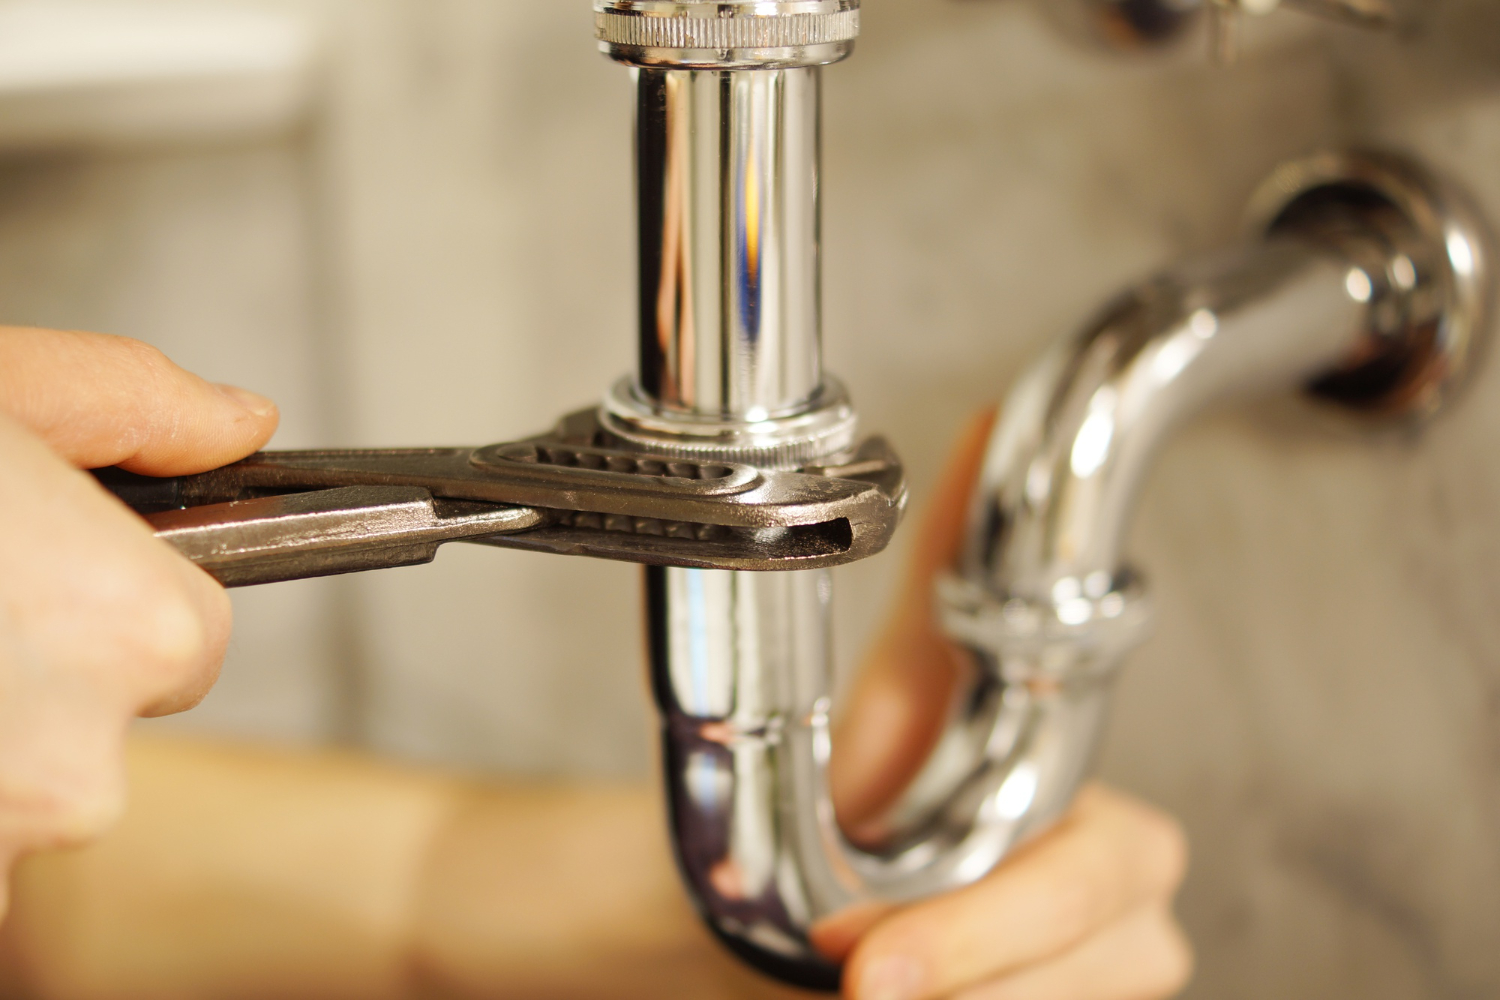
A loose pipe connection is one of those plumbing issues that often starts small and quiet. At first, it might be a faint drip under a sink or a slight damp spot on a basement pipe. Left alone, it can turn into steady leaking, water damage, or even mold growth in hidden areas.
The good news is that many loose pipe connections are simple mechanical fixes. In a lot of cases, you don’t need to replace parts or call a plumber right away—just tightening the right connection properly can stop the leak.
Where Loose Connections Usually Happen
Pipe connections loosen over time due to vibration, temperature changes, and normal use. The most common problem areas include:
- Under kitchen sinks
- Bathroom sink drain assemblies
- Toilet supply lines
- Washing machine hoses
- Water heater connections
- Basement or utility room piping
- Outdoor hose bibs
Any place where pipes are joined with fittings, nuts, or couplings is a potential leak point.
Signs a Pipe Connection Is Loose
Not all leaks are obvious. Watch for:
- Dripping water under sinks or appliances
- Damp or discolored pipes
- Mineral buildup (white or green crust)
- Musty smells in cabinets or basements
- Water stains on nearby walls or floors
- Occasional dripping that stops and starts
Even a slow leak is worth addressing early, since it rarely improves on its own.
Before You Start: Turn Off the Water
Always shut off the water supply before tightening or adjusting plumbing connections.
Depending on the location:
- Under sinks: use the small shutoff valves
- Toilets: shut off the valve behind the toilet
- Appliances: disconnect supply hoses or shut individual valves
- Main system issues: shut off the home’s main water supply
After shutting off the water, open a nearby faucet to relieve pressure in the line.
Identify the Type of Connection
Different connections require different approaches:
Compression fittings
Common under sinks and on supply lines. These use a nut that compresses a ring (ferrule) around the pipe.
Threaded fittings
Used in metal and PVC piping systems. They screw together and seal with tape or compound.
Slip nuts (slip joints)
Found on drain pipes under sinks. These have hand-tightened nuts that hold curved pipe sections together.
Hose connections
Used on washing machines and outdoor spigots. These tighten with a threaded collar.
Knowing what you’re working with helps avoid overtightening or damaging the fitting.
Step 1: Dry Everything First
Before tightening anything, dry the area completely.
This helps you:
- See the exact source of the leak
- Identify whether water is coming from above or below
- Prevent slipping while using tools
Use a towel and give it a minute or two to confirm where fresh moisture appears.
Step 2: Tighten Slip Nut Connections
Slip nuts are common under sinks in drain assemblies.
To tighten:
- Hold the pipe steady with one hand
- Turn the slip nut clockwise with the other
- Use pliers if needed, but avoid excessive force
If tightening stops the leak, you’re done. If it continues, the washer inside the joint may need replacement.
Step 3: Tighten Compression Fittings
Compression fittings should be tightened carefully.
- Use an adjustable wrench
- Turn the compression nut slightly clockwise
- Avoid overtightening—this can damage the ferrule or pipe
If tightening doesn’t stop the leak:
- Turn off the water
- Disassemble the fitting
- Inspect the ferrule and pipe end
- Replace worn components if necessary
Compression fittings rely on a clean, properly seated seal.
Step 4: Check Threaded Pipe Connections
Threaded connections require a bit more care.
If you see a leak at a threaded joint:
- Try tightening the fitting gently with a pipe wrench
- Turn in small increments—about 1/8 turn at a time
If the leak continues, the seal may be compromised.
In that case:
- Disassemble the joint
- Clean old tape or compound
- Reapply plumber’s tape or pipe joint compound
- Reconnect and tighten securely
Threaded fittings seal through both pressure and sealing material.
Step 5: Inspect Hose Connections
For washing machines, outdoor hoses, and similar connections:
- Check that rubber washers are in place
- Tighten the collar by hand first
- Use pliers only for a final snug turn
If leaks persist, replace the washer inside the hose end—it’s a common failure point.
Step 6: Look for Hidden Damage
Sometimes a “loose connection” is actually damaged hardware.
Check for:
- Cracked fittings
- Corroded threads
- Flattened or missing washers
- Bent pipe sections
- Stripped nuts that won’t tighten
If the material itself is damaged, tightening alone won’t fix the problem.
Step 7: Turn Water Back On Slowly
After making adjustments:
- Turn the water on gradually
- Watch the connection closely
- Check for drips or seepage
- Tighten slightly if needed
Don’t assume the repair worked until the system is pressurized again.
Preventing Future Leaks
A few simple habits can reduce future plumbing issues:
- Avoid overtightening connections during installation
- Check under sinks every few months
- Replace worn washers early
- Insulate pipes in cold areas to reduce stress
- Don’t force old fittings that resist movement
Routine checks take only a minute but can prevent water damage.
Common Mistakes to Avoid
Loose pipe repairs are simple, but mistakes can make things worse:
- Overtightening compression fittings
- Ignoring worn washers or seals
- Using tape on compression joints (not needed)
- Forcing rusted fittings
- Failing to shut off water completely
- Assuming all leaks come from the same joint
Careful tightening is usually more effective than force.
When to Call a Professional
Some situations go beyond simple tightening:
- Pipes continue leaking after multiple attempts
- Corroded or cracked plumbing is visible
- Fittings are welded, glued, or inaccessible
- Water pressure problems are widespread
- Leaks are inside walls or ceilings
In these cases, replacing parts or sections of pipe may be necessary.
Loose pipe connections are one of the most common household plumbing issues, and fortunately, they’re often among the easiest to fix.
In many cases, a careful tightening or replacement of a small seal is enough to stop the leak entirely.
The key is identifying the type of connection, working gently instead of forcing parts, and paying attention to worn components like washers or ferrules. With a bit of patience and the right approach, most homeowners can stop a leak quickly and keep small plumbing problems from turning into bigger ones.