
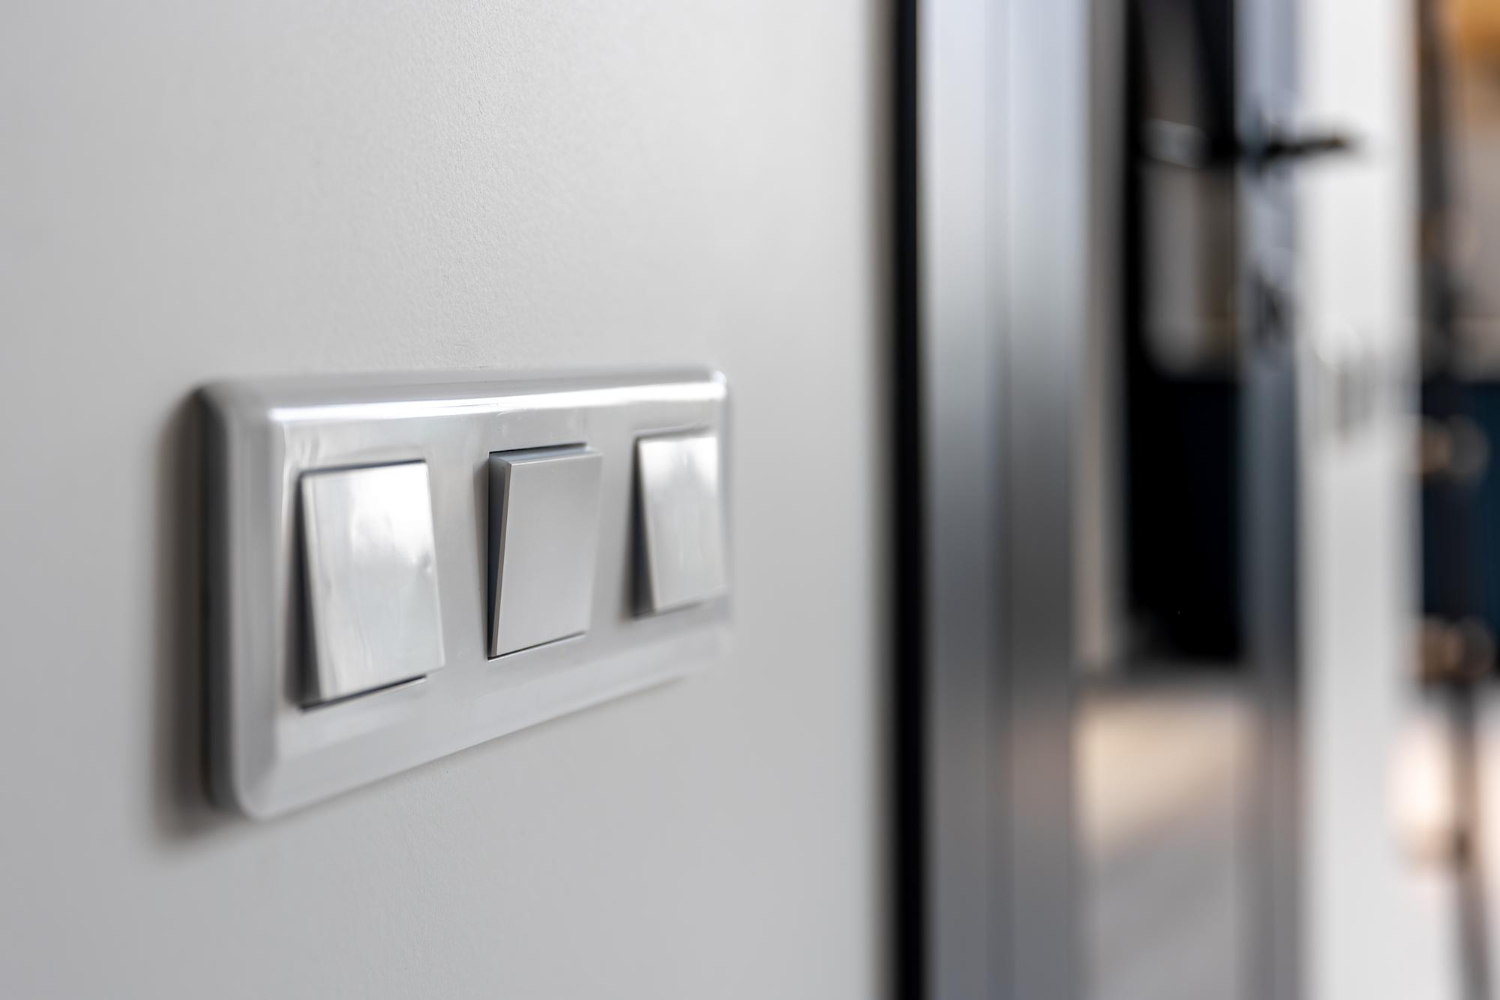
Replacing a light switch cover is one of those small home tasks that looks almost too simple to matter—until you notice how much cleaner and more finished a room looks afterward. Old, yellowed, cracked, or mismatched covers can quietly make a space feel dated. Swapping them out is inexpensive, quick, and well within reach for most homeowners.
Still, because switch covers sit right on top of electrical wiring, it’s worth doing the job carefully rather than rushing through it.
Why Replace a Light Switch Cover?
Switch covers don’t wear out mechanically, but they do age visually and physically.
Common reasons for replacement include:
- Cracks or chips in the cover
- Discoloration from age or sunlight
- Paint splatters or stains
- Upgrading to a new style or color
- Replacing missing or loose screws
- Matching new decor or wall plates
Even a small change—like switching from old ivory plastic to clean white or metal finishes—can noticeably refresh a room.
What You’ll Need
Before starting, gather a few basic items:
- New switch cover plate
- Flathead or Phillips screwdriver
- Voltage tester (recommended for safety)
- Optional: replacement screws
Most covers are universal, but it helps to check whether your switch is a single, double, or multi-gang plate before buying.
Safety First: Turn Off the Power
Even though replacing a cover doesn’t involve touching wiring, it’s still smart to treat it like an electrical task.
To stay safe:
- Turn off the breaker for that room (optional but recommended)
- Test the switch with a voltage tester if you’re unsure
- Avoid touching exposed wiring inside the box
If the switch is functioning normally and you’re only changing the cover, you technically don’t need to shut off power—but many homeowners prefer the extra precaution.
Remove the Old Cover Plate
This is usually the easiest step in the process.
- Locate the screws (typically one or two)
- Turn them counterclockwise with a screwdriver
- Gently pull the cover away from the wall
If the plate has been painted over, you may need to score around the edges lightly with a utility knife so the paint doesn’t peel off the wall.
Be careful not to apply too much force—older plastic plates can crack unexpectedly.
Inspect the Switch While You’re There
Once the cover is off, take a quick look at the switch itself.
Check for:
- Loose mounting screws
- Cracked switch housing
- Discoloration or burn marks
- Wobbly or recessed switches
If anything looks damaged or unusual, it may be worth replacing the switch itself rather than just the cover.
Align the New Cover Plate
Hold the new plate up to the switch box before securing it.
Make sure:
- Screw holes line up properly
- The plate sits flush against the wall
- The switch toggle or rocker moves freely without rubbing
If the wall surface is uneven, you may notice small gaps. In some cases, switching to a slightly larger “oversized” cover plate can help hide imperfections around the box.
Secure the Cover Without Over-Tightening
Attach the screws and tighten them until the plate is snug against the wall.
A few key tips:
- Don’t overtighten—this can crack plastic plates
- Keep the plate straight as you tighten
- Stop once the plate is flush and stable
If the plate pulls unevenly, loosen it slightly and realign before tightening again.
Match the Style to Your Home
Switch covers come in a surprising range of materials and finishes:
- Basic plastic (most common and affordable)
- Matte or glossy finishes
- Metal (brushed nickel, stainless steel, brass)
- Decorative or textured designs
Choosing a consistent style throughout your home helps create a more cohesive look. Mixing styles in different rooms can work, but random mismatches tend to stand out.
Consider Upgrading While You’re at It
Since this is a quick project, it’s often a good opportunity to make small upgrades.
You might consider:
- Screwless wall plates for a cleaner appearance
- Oversized plates to cover paint or drywall gaps
- Matching outlet covers for a consistent look
- Child-safe outlet covers if needed in certain rooms
Small upgrades like these can modernize a room without major expense.
Common Mistakes to Avoid
Even a simple job like this can go wrong if rushed.
Watch out for:
- Using the wrong size plate for the box
- Stripping screws by overtightening
- Installing a cracked or warped cover
- Forgetting to check alignment before tightening
- Painting over plates instead of replacing them
Most issues come from forcing parts that don’t quite fit or skipping basic alignment checks.
When a Cover Replacement Reveals Bigger Issues
Sometimes removing a switch cover reveals problems that should be addressed before continuing:
- Loose electrical box inside the wall
- Exposed or damaged wiring
- Switch that moves or feels unstable
- Signs of heat damage or discoloration
If you notice any of these, stop and consider consulting a qualified electrician before proceeding further.
Replacing a light switch cover is a small project, but it has an outsized impact on how finished and well-maintained a room feels.
It’s also a good introduction to safe, simple home improvement work that builds confidence without requiring advanced tools or skills.
By taking a few extra moments to ensure proper fit, alignment, and safety, you can complete the job cleanly and avoid the common mistakes that turn a simple upgrade into a frustrating redo. Sometimes, it really is the small details that make a home feel well cared for.