
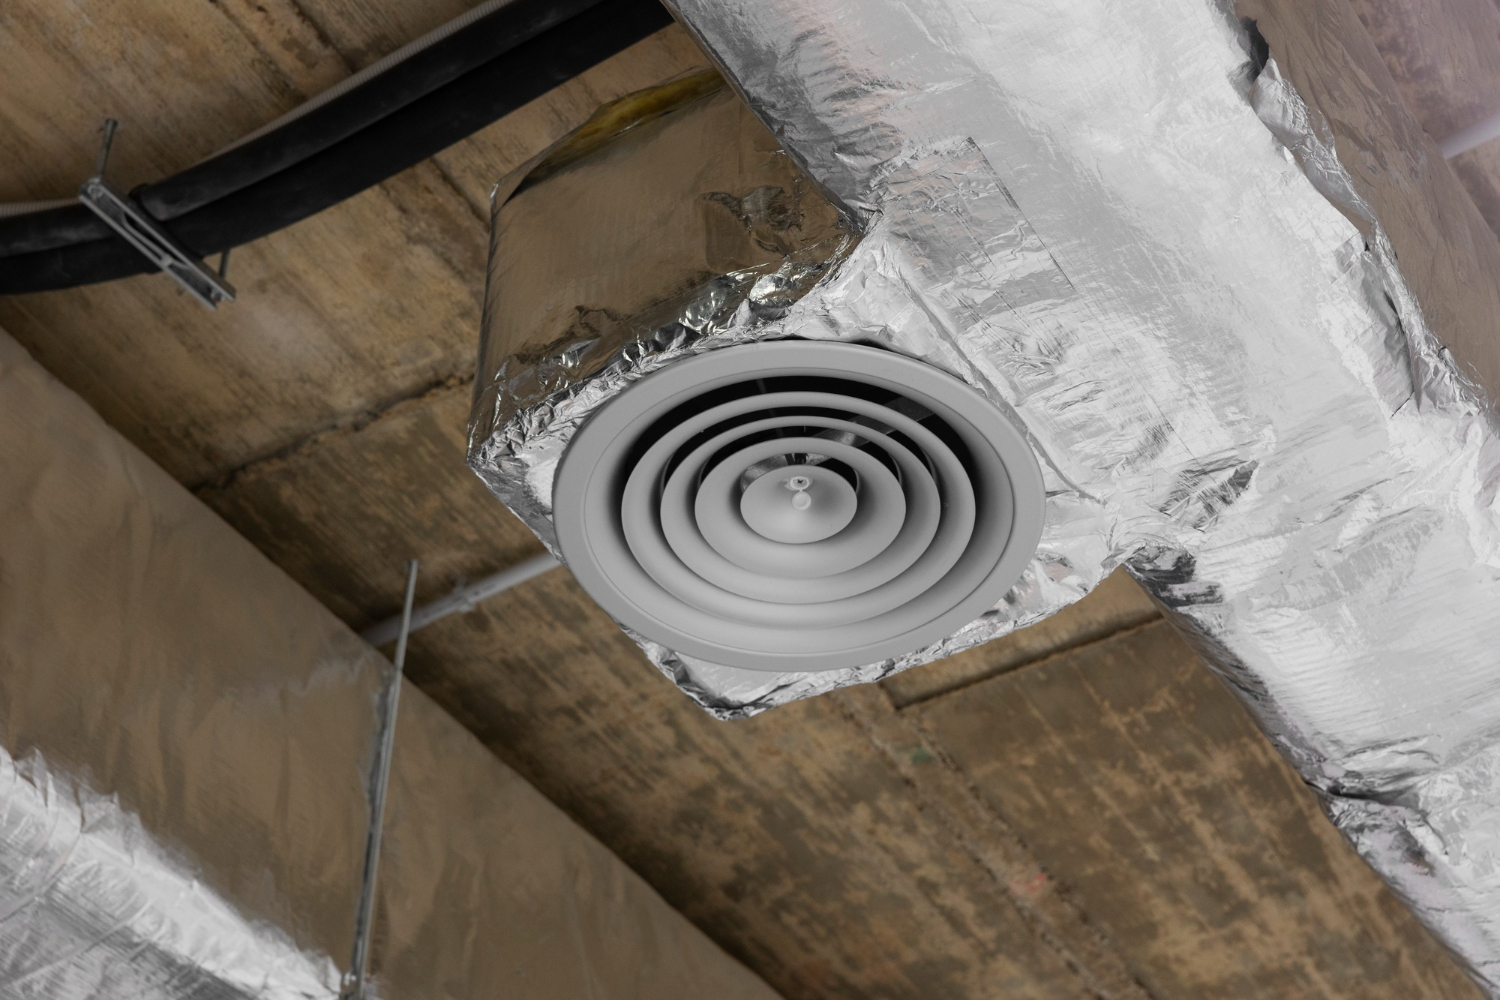
Vent covers are easy to overlook until one gets cracked, warped, or starts rattling every time the heat or air conditioning kicks on. They sit quietly in the background doing their job—until they don’t. Replacing a vent cover is a simple home repair that can improve airflow, reduce noise, and instantly make a room look more finished.
Most homeowners can complete this job in just a few minutes per vent, as long as they choose the right replacement and install it properly.
Why Vent Covers Need Replacing
Vent covers (also called registers or grilles) wear out over time due to constant airflow, foot traffic, furniture bumps, and general aging.
Common reasons for replacement include:
- Cracked or broken louvers (adjustable slats)
- Rust or corrosion on metal covers
- Warping or discoloration
- Loose or missing screws
- Noisy rattling during HVAC operation
- Outdated style or mismatched finishes
Even if a vent still “works,” a damaged cover can restrict airflow or create annoying vibrations.
Understanding the Type of Vent You Have
Before buying a replacement, it helps to identify the type of vent cover in your home.
Most common types include:
- Floor registers – installed in floors, often metal and built to handle foot traffic
- Wall registers – mounted vertically on walls
- Ceiling diffusers – designed to distribute air evenly downward
- Return air grilles – larger covers that pull air back into the HVAC system
Each type has slightly different mounting styles and size requirements.
Measure Before You Buy
One of the most common mistakes is assuming all vent covers are standard sizes.
To measure correctly:
- Measure the duct opening, not the outer frame
- Record both length and width
- Check depth if the cover fits inside a recessed frame
- Note whether the airflow direction is adjustable or fixed
A vent cover that is even slightly off in size may not sit flush or could rattle during use.
Removing the Old Vent Cover
Most vent covers are held in place with simple screws or friction fit designs.
To remove it:
- Turn off HVAC airflow if desired (not required, but reduces dust movement)
- Unscrew visible fasteners, if present
- Lift or pull the cover gently from the opening
- Clean the surrounding area before installing the new one
If the cover is painted over, lightly score the edges with a utility knife to avoid peeling paint from the wall or floor.
Clean the Duct Opening
Before installing the replacement, take a moment to clean the area.
You may find:
- Dust buildup
- Pet hair
- Construction debris
- Loose paint flakes
A vacuum with a hose attachment works well here. Clean edges help the new cover sit properly and improve airflow efficiency.
Positioning the New Vent Cover
When placing the replacement:
- Align it evenly over the opening
- Ensure airflow direction (if adjustable) is set correctly
- Check that it sits flush against the surface
For floor vents, make sure the cover is level so it doesn’t rock when stepped on.
Securing the Vent Cover
Most vent covers are secured with screws, though some drop-in models rely on friction.
For screw-mounted covers:
- Use the original holes when possible
- Avoid overtightening, especially on drywall or wood floors
- Ensure the cover is snug but not warped
For drop-in floor registers:
- Press firmly into the opening until seated
- Check that edges are evenly supported
- Test stability by gently stepping nearby
A properly installed vent should not move or rattle when the HVAC system is running.
Choosing the Right Material
Vent covers come in several materials, each with its own advantages.
Common options include:
- Steel – durable and common for floor vents
- Aluminum – lightweight and corrosion-resistant
- Plastic – affordable and easy to install, but less durable
- Wood – often used for decorative wall vents
For high-traffic areas like hallways or floors, metal is usually the best long-term choice.
Matching Style and Finish
Replacing a vent cover is also an opportunity to improve the look of a room.
Popular finishes include:
- White (most common for walls and ceilings)
- Brushed nickel or bronze (modern interiors)
- Matte black (contemporary design styles)
- Wood stain finishes (for hardwood floors)
Consistency matters—mismatched vents can stand out more than expected, especially in open floor plans.
Checking Airflow After Installation
Once installed, turn the HVAC system back on and check performance.
Look for:
- Even airflow through the vent
- No rattling or vibration
- Proper opening and closing of adjustable louvers
- No gaps around the edges
If airflow seems weak, double-check that the cover is fully open and not obstructed.
Common Mistakes to Avoid
Even though this is a simple project, a few small errors can cause issues:
- Buying the wrong size vent cover
- Installing floor vents that can’t support foot traffic
- Over-tightening screws and cracking the frame
- Blocking airflow with furniture placement
- Ignoring dust buildup inside the duct before installation
Taking a few extra minutes to measure and clean usually prevents most problems.
When a Vent Cover Replacement Isn’t Enough
Sometimes the vent cover is not the real problem.
You may need additional attention if:
- Airflow is weak even with a new cover
- The duct opening is damaged or collapsed
- You notice mold or moisture inside the vent
- There are unusual noises coming from the duct system
In those cases, the issue may be deeper in the HVAC system rather than the cover itself.
Replacing vent covers is one of those small home upgrades that delivers quick visual and functional improvement.
It doesn’t require special tools, and it can be completed in just a few minutes per vent, yet it helps keep airflow efficient and rooms looking well maintained.
By choosing the right size, cleaning the area properly, and securing the cover correctly, you can avoid common issues like rattling, poor airflow, or uneven fit. It’s a simple repair, but one that quietly contributes to a more comfortable and finished home.